
Have you ever noticed one main reason that makes your presentations all look the same boring is the font you use? That’s Calibri, the default font of Office and no one ever changes it! So why don’t add some pizzazz to your presentation just by using a more dynamic, professional and eye catching font and see the huge difference?
So how to use non-default fonts in Powerpoint ? Like what we always say when making delivery to our customers, ‘don’t forget to download and install all the fonts before opening the presentation’, first thing first, you need to download the font.
There are two ways we normally use to send fonts to our clients. If they’re Google fonts, we use links from Google Font directly. If not, we upload the fonts to Google Drive. Click here to see how to download from Google Drive link.
Google fonts are always our priority choice. Why? Because it is a huge library for various beautiful fonts which provides you a plenty of choices. You will not have any trouble with licensing since the typefaces of Google Fonts are free for commercial use. And your presentation will work perfectly in Google slide without any extra modification. But if you don’t use Google fonts, no worries, those steps to do still apply exactly.
Step 01: Download the font
Let say we use Poppins from Google font. Click here to download the font: https://fonts.google.com/specimen/Poppins?query=poppins
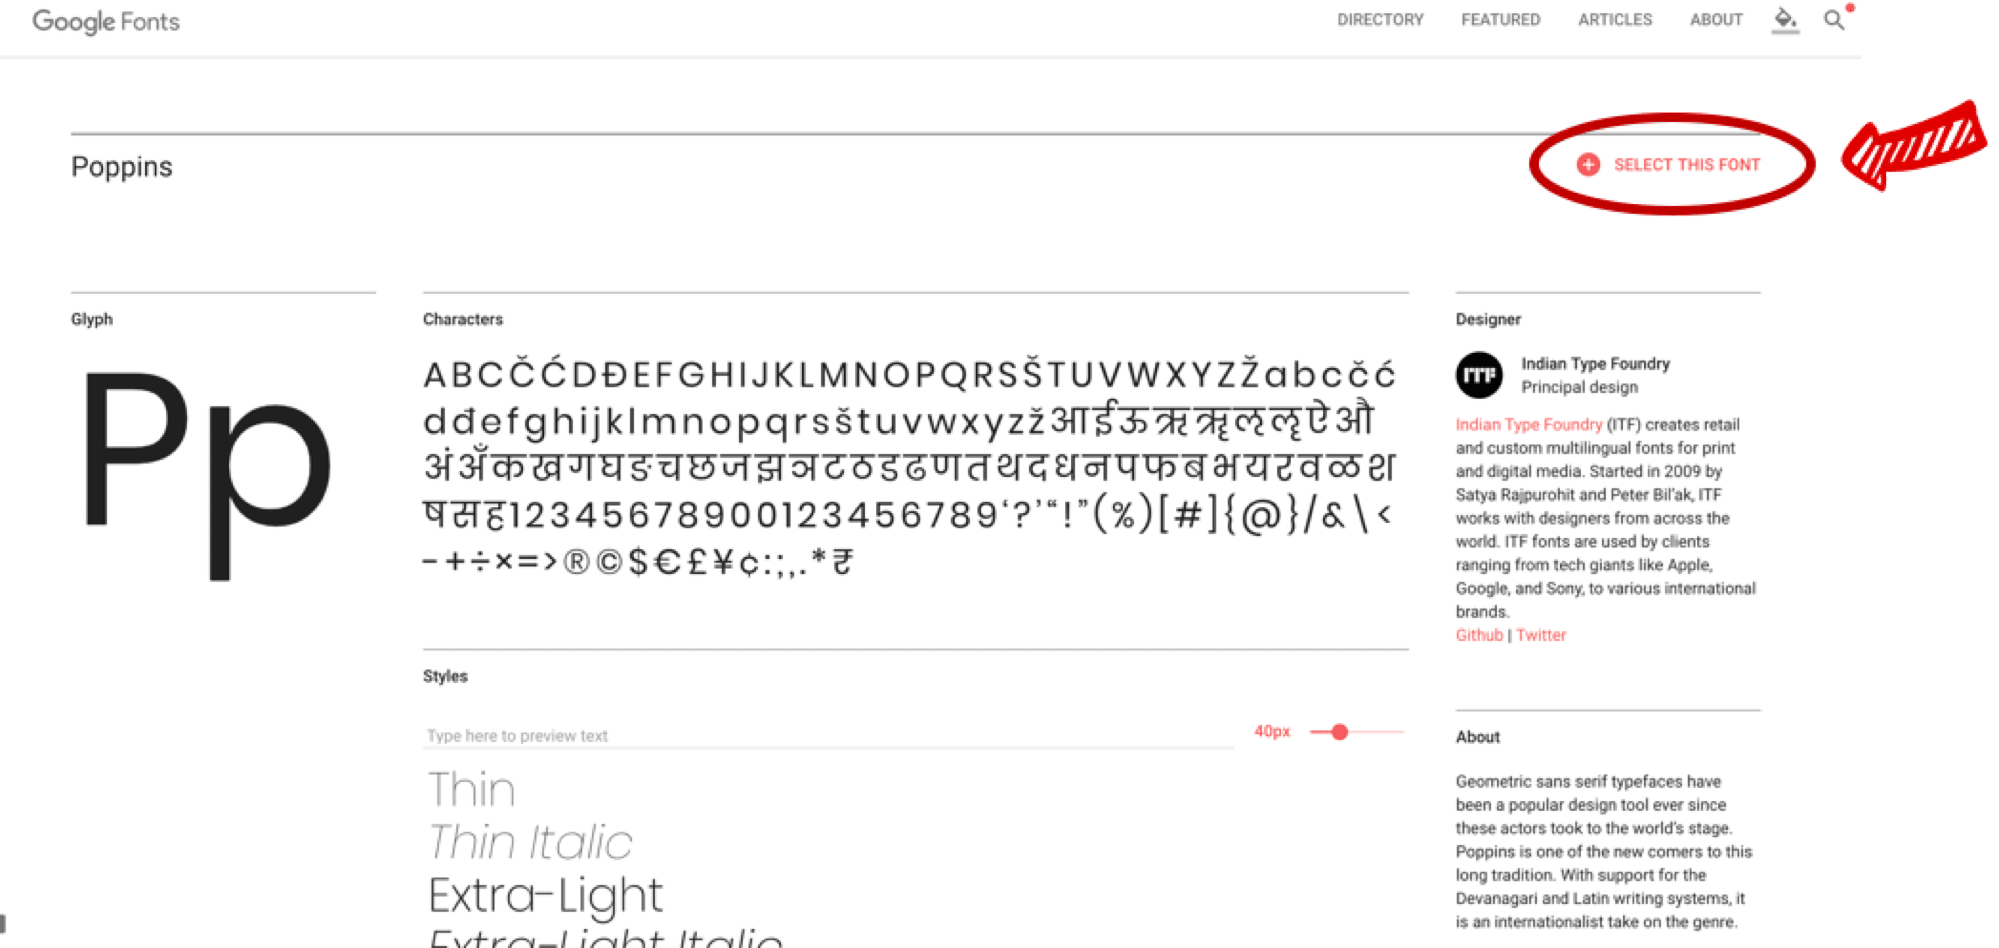
Click SELECT THIS FONT
Then it will appear a selected box

Click on the arrow pointing down to download
Now you already have Poppins downloaded to your Mac/PC. Double click to unzip and open the file you just download.
Step 02: Unzip the font
Now you have to unzip the file in order to install the fonts
Locate the zipped folder that you want to unzip (extract) files or folders from.
Do one of the following:
- To unzip a single file or folder, open the zipped folder, then drag the file or folder from the zipped folder to a new location.
- To unzip all the contents of the zipped folder, press and hold (or right-click) the folder, select Extract All, and then follow the instructions.
Step 3: Install the font
Select all the fonts, right click and select Install.

Step 4: Completely quit Powerpoint before opening the presentation.
This step may not be necessary in some devices but to make sure the font you just installed works perfectly, please close all of Powerpoint windows opening.
Step 5: Reopen your presentation and enjoy its design to the fullest !!!
